Next.js Commerce
Overview and first steps

On October 27, the Next.js conf, the global conference of Next.js for the developer community, this year in online and interactive format. In the inaugural keynote of the event, organized by Vercel (creators of Next.js and formerly known as Zeit) the new platform Commerce was presented (https://nextjs.org/commerce), a solution based on Next.js to be able to integrate with different ecommerce backends and that promises speed, ease of development and all the advantages associated with developing with Next.js such as internationalization, analytics, image optimization.
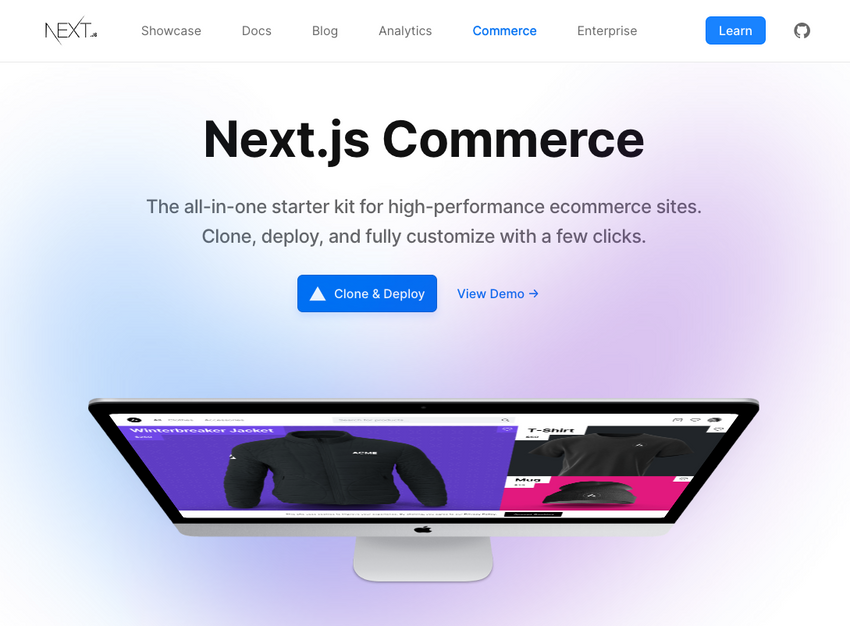
The idea of this project is to use Next.js and all its advantages as the basis for the development of a great ecommerce platform, easy to develop, with multiple integrations, scalable, accessible and capable of contributing to the development of both simple and large stores. marketplaces with the same knowledge base. To begin with, they have integrated with BigCommerce through a module for Next.js, although they promise to work on integrations with other platforms and services such as Shopify, Magento, Wordpress, etc ...
The challenge is titanic, but it seems that they have things quite clear and an active community willing to collaborate. I have spent a few days creating an environment, playing with the platform and developing some component and even doing some PR.
In this article we are going to summarize the process of creating, installing and developing a project with Next.js commerce and several simple development examples.
Technologies
- Next.js (of course) with TypeScript
- Tailwind
- BigCommerce Data Hooks to interact with BigCommerce
- CSS Modules to modify specific styles
Installation
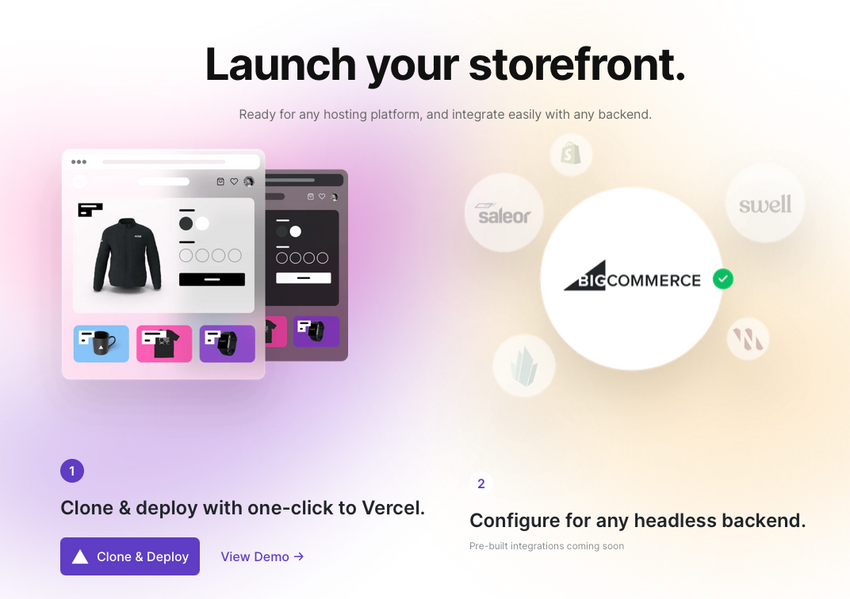
The easiest way to install this platform is by using Vercel as a hosting and CI service, since through this system you can automatically clone the repository, display and set the environment variables to connect with the backend. To do this, we go to the project home and click on "Clone & Deploy".
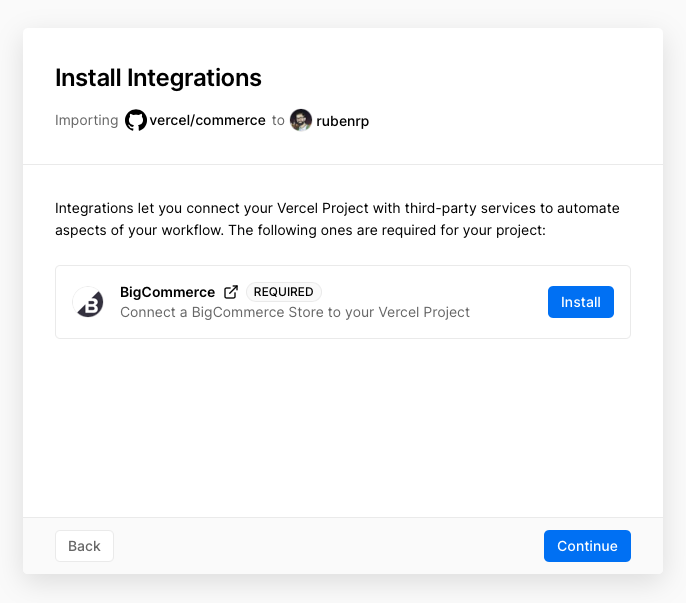
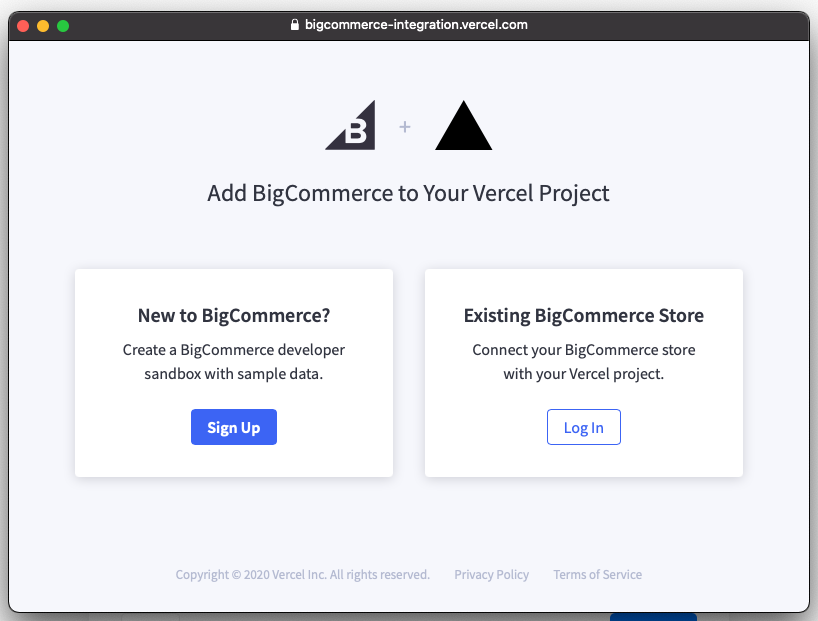
If you do not have an account created, a new user registration form will start and once created, you will go to the project settings, where the BigCommerce integration will be installed. If you don't have a BigCommerce account or project previously, a new one will be created.
After a couple more clicks to confirm the repository to be created will be confirmed and deployment will begin. Simpler impossible.

After finishing the deployment, Vercel shows us the URL of the storefront. We are not going to investigate the possibilities of Vercel which are infinite and we are going to focus on the structure of the code and what can be done in a couple of hours working with Next.js Commerce.
Structure
To start working with the code, we clone the previously created repository and open it with VSCode. At a glance we can see the following:

- Assets: Folder with CSS files and Tailwind overrides.
- Components: Folder with all the components of the project, organized by scope (cart, product, wishlist, common) and generic (ui). Very easy to locate the components with this structure.
- Config: Folder with general site settings, by default there is only one JSON with SEO settings.
- Lib: Folder with generic functions of the site such as search, obtaining the slug or hooks used in components and pages. It is a bit of a disaster drawer but there are not many files either so it is somewhat manageable.
- Pages: Folder with the store pages (blog, cart, search). It is worth highlighting the following pages:
- slug.tsx. Page in charge of resolving the product page urls and loading the ProductView component.
- ...pages.tsx. Generic page to resolve any url in Next.
Also, there are also several prominent files:
- next.config.js: File with general Next.js settings, such as domains, languages and routing. This file is where the search urls and the redirection to the BigCommerce API for the checkout process are defined.
Development
In order to develop locally it is first necessary to download all packages using Yarn.
cd ecommerce-testyarnOnce all the packages have been downloaded, we must link the repository with Vercel to download the environment variables and be able to connect with BigCommerce locally, for this we install Vercel CLI if we had not done it before and link the project
npm i -g vercelvercel linkvercel env pull .env.localAfter this we are ready to develop our store locally 🙂
yarn devNote: The integration with BigCommerce does not work smoothly, I have had to create 2 projects in Vercel and link the environment variables 2 times for it to connect with BigCommerce, since the API constantly returned 401.
Logo change
To modify the logo it is necessary to go to components/ui/Logo/Logo.tsx. In this module we can see how the logo has been added in SVG by inserting the code directly, but we can reuse the component by adding our own logo in SVG or by inserting a specific image and saving it in the public folder.
const Logo = ({ className = "", ...props }) => ( <svg xmlns="http://www.w3.org/2000/svg" width="32" height="32" viewBox="0 0 481.11 345" className={className} {...props} > <title>logo-rr</title> <path d="M653.3,252.55a102.77,102.77,0,0,1-7.73,40.16,98.49,98.49,0,0,1-21.35,32A103.87,103.87,0,0,1,592,346.49,116.66,116.66,0,0,1,552,356l95.8,126.68H605.62L490.29,328.81c5.14,0,10.9.06,17.26.22s12.79.06,19.29-.22,12.87-.86,19.06-1.59a106,106,0,0,0,17-3.43q25.44-7.69,40.87-26.77t15.42-45.42a77.27,77.27,0,0,0-10-37.67A68.81,68.81,0,0,0,582,186.22a91.82,91.82,0,0,0-32-10.66,270.29,270.29,0,0,0-34.27-2H422.19V142.17h86.72a398.9,398.9,0,0,1,42.45,2.51q22.91,2.51,41.1,11.14,29,13.6,44.95,39.24T653.3,252.55Z" transform="translate(-172.19 -137.72)" /> <path d="M302,351.56l96.23,126.68H354.72L239.82,324.31h17.27q9.55,0,19.29-.43t19.3-1.59a105.61,105.61,0,0,0,17.27-3.4q24.94-7.73,40.4-26.58t15.44-45.18A79.89,79.89,0,0,0,359,209.23q-9.76-18.38-27-27.47-16.35-9.11-32.44-10.9a313.86,313.86,0,0,0-34.3-1.83H205.79V478.24h-33.6V137.72h86.74c6.34,0,13.17.14,20.4.43s14.63.92,22,1.83a199.61,199.61,0,0,1,21.59,3.83A98.13,98.13,0,0,1,342,150.43q29.06,14,45.17,39.48t16.14,57.67a100.27,100.27,0,0,1-7.93,40.18A105.85,105.85,0,0,1,373.78,320a103.19,103.19,0,0,1-32,22A115.22,115.22,0,0,1,302,351.56Z" transform="translate(-172.19 -137.72)" /> </svg>)export default Logo// OR using an image:import Image from "next/image"const Logo = ({ className = "", ...props }) => ( <Image src="/icon-192x192.png" alt="Logo" width="64" height="64" />)export default LogoNavigation menu
![]()
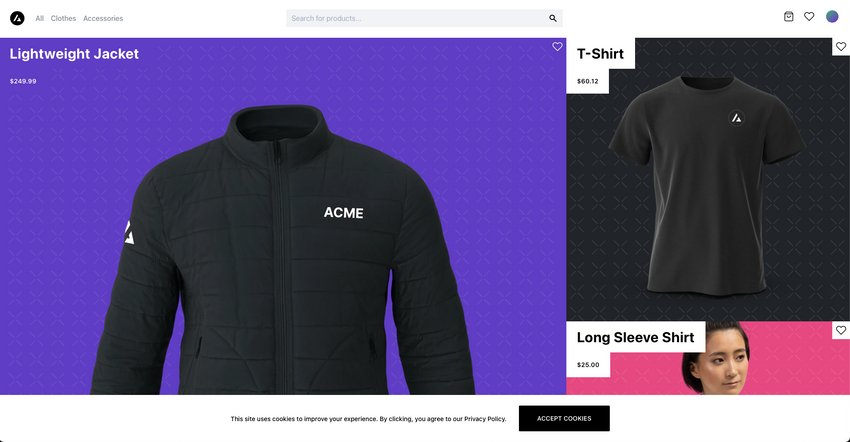
The navigation logic on this platform are located in the component components/common/Navbar/Navbar.tsx. At the moment there is no integration with CMS or management of elements in a transparent way and without development. To add a link with the current structure, it is as simple as using the Link component of Next.js
<nav className="space-x-4 ml-6 hidden lg:block"> <Link href="/search"> <a className={s.link}>All</a> </Link> <Link href="/search?q=clothes"> <a className={s.link}>Clothes</a> </Link> <Link href="/search?q=accessories"> <a className={s.link}>Accessories</a> </Link> <Link href="/blog"> <a className={s.link}>Blog</a> </Link></nav>Bloque de información en página de producto
The component that is responsible for rendering the product information is located in components/product/ProductView/ProductView.tsx. This component is loaded on the pages/product/slug.tsx page when the product object is loaded.
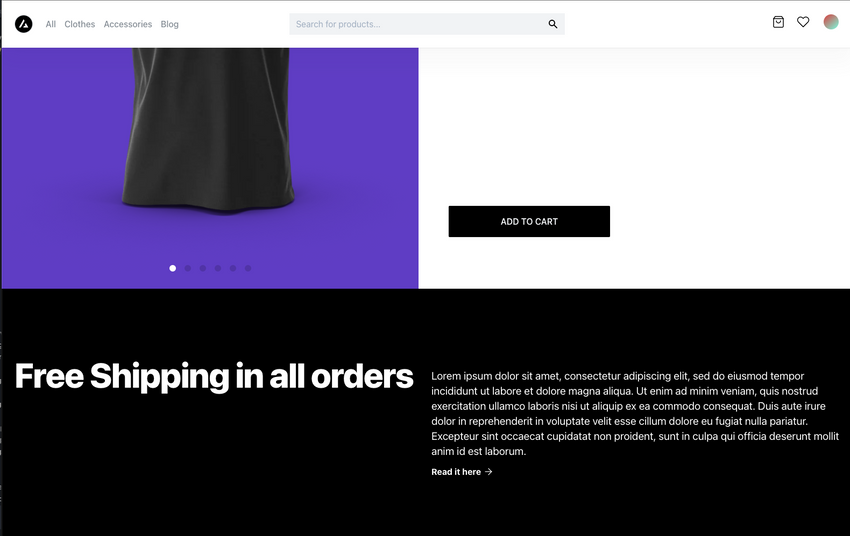
We are going to use the Hero component defined in the UI components folder, for this we add the component with our desired values at the end and test its operation.
// Add the Hero componentimport { Button, Container, Text, Hero } from '@components/ui'... return ( <Container className="max-w-none w-full" clean> ... <Hero headline="Free Shipping in all orders" description=" Lorem ipsum dolor sit amet, consectetur adipiscing elit, sed do eiusmod tempor incididunt ut labore et dolore magna aliqua. Ut enim ad minim veniam, quis nostrud exercitation ullamco laboris nisi ut aliquip ex ea commodo consequat. Duis aute irure dolor in reprehenderit in voluptate velit esse cillum dolore eu fugiat nulla pariatur. Excepteur sint occaecat cupidatat non proident, sunt in culpa qui officia deserunt mollit anim id est laborum." /> </Container> )}export default ProductViewConclusion
Although there is a lot of work ahead and adding integrations to the platform, the software is fully functional and developing a simple store can be a very simple and fun task. I am looking forward to seeing the next steps and the reception it has among developers, because this platform promises.
References
https://github.com/bigcommerce/storefront-data-hooks
Photo by Dimosthenis Papamichail on Unsplash